
Traditional animation is a series of drawings shown quickly. Pencil2D makes it as easy as a flip book.
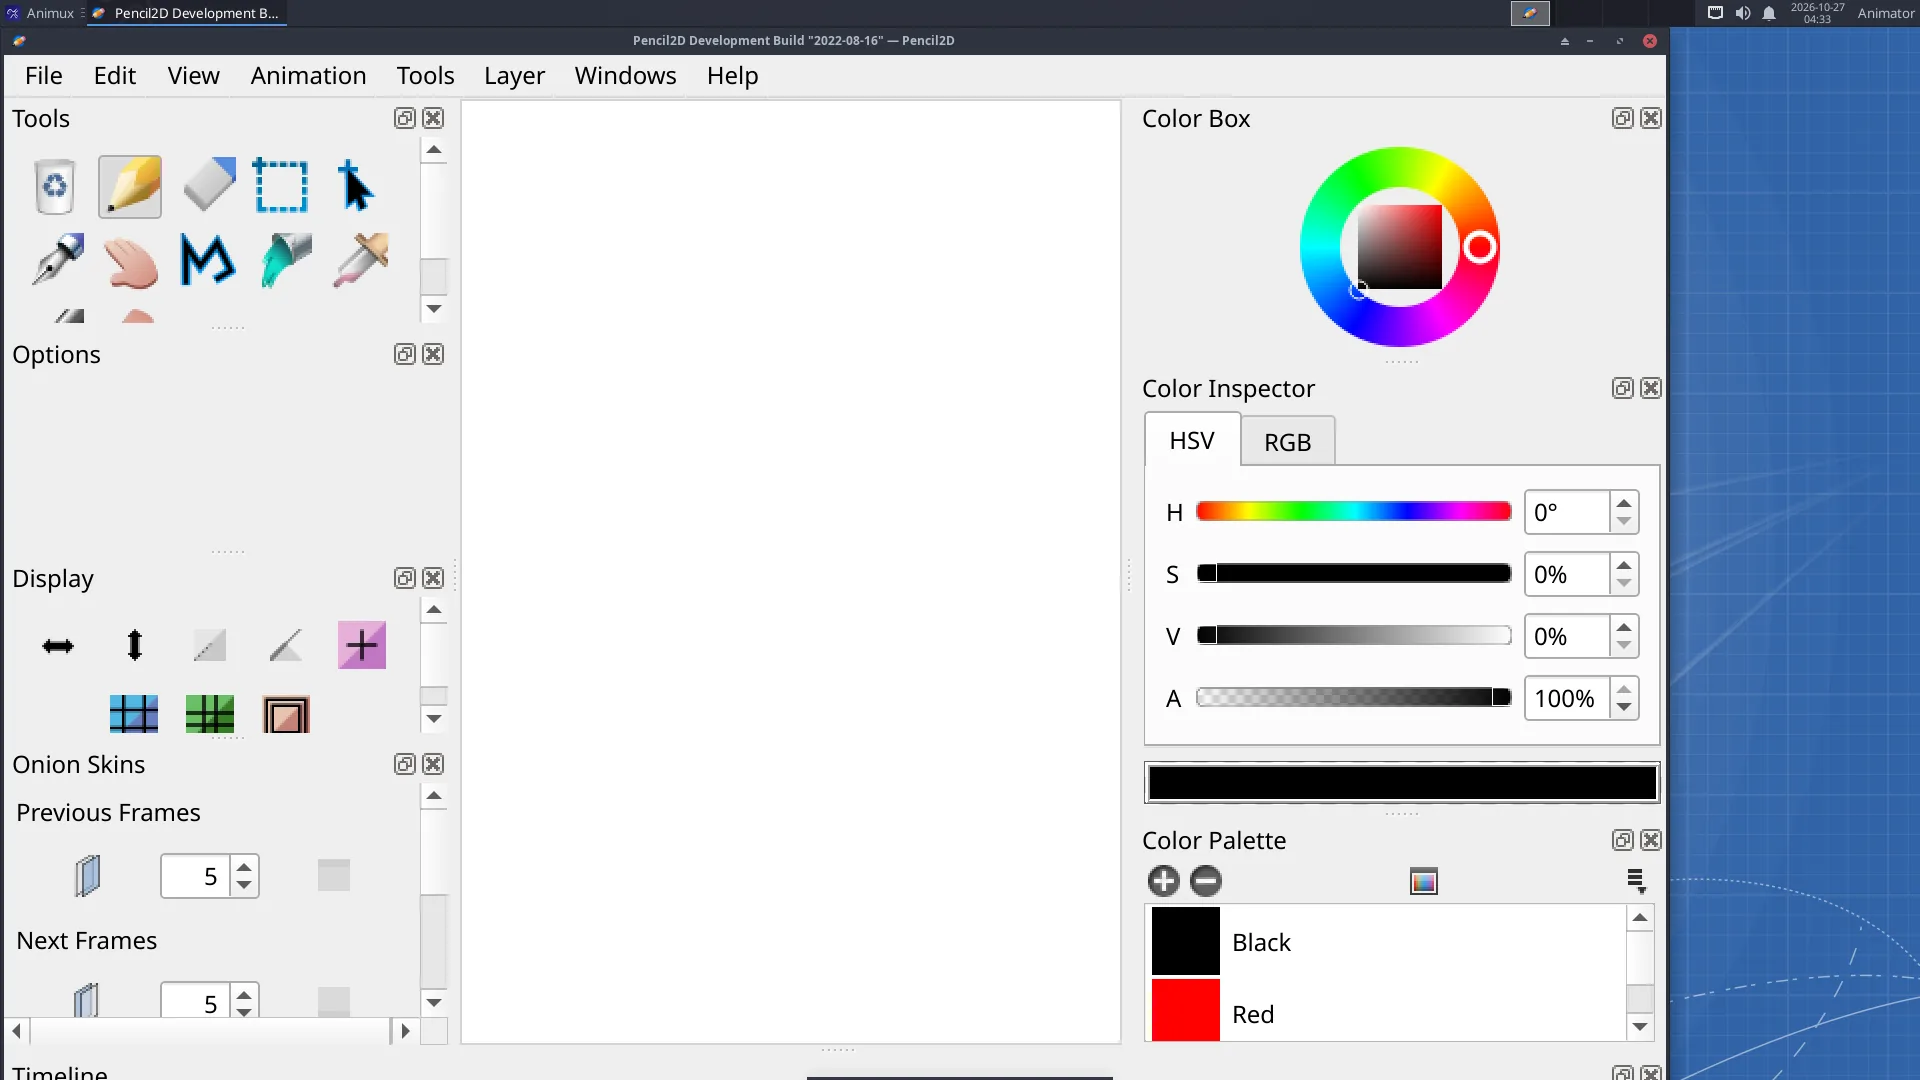
1. Get ready#
- Start 2D Animation → Pencil2D. A new project with a Camera, a Vector and a Bitmap layer opens.
- Click the Bitmap layer in the timeline (that is where you draw like on paper).
- Pick the Pencil tool (N) and a dark colour. With a drawing tablet, pressure works automatically.
2. Key drawings#
Animators start with the keys, the most important poses. We will animate a ball jumping across the screen.
- Frame 1: draw the ball on the left, on the ground.
- Click frame 7 in the Bitmap layer, then the + button (Add Frame) above the layers. Draw the ball high in the middle.
- Frame 13: add a frame and draw the ball on the right, on the ground.
3. In-betweens with onion skin#
- Turn on onion skin: the onion buttons above the timeline (previous and next). The drawings before and after appear faintly in red and blue.
- Click frame 4, add a frame, and draw the ball halfway between frame 1 and 7: a little lower than half the height (the ball is faster near the ground).
- Do the same on frame 10.
Each drawing is held until the next one: frame 1 shows until frame 3, and so on. That is animating on threes.
4. Play it#
Press Play (or Enter). Change the speed in the FPS box next to the play buttons: 12 is classic for hand-drawn animation. Switch on Loop to watch it repeat.
Too jerky? Add more in-betweens (frames 2, 3, 5, 6…) and animate on twos or ones.
5. Colour#
Pencil2D's Bucket (K) fills closed areas. For clean colouring, draw lines on a Vector layer: its bucket fill follows the lines exactly, even after you edit them.
6. Export#
- File → Export → Movie: choose MP4 (for Kdenlive or sharing) or GIF (for the web) and the size.
- File → Export → Image Sequence: PNG files, the best quality for editing.
Save your project with File → Save (.pclx).
Next steps#
- Add a Sound layer (Layer → New Sound Layer) to animate to music or a voice.
- Use the Camera layer to pan across a wide background.
- The twelve principles of animation (Frank Thomas and Ollie Johnston, The Illusion of Life) are the best next thing to learn. The bouncing ball in Synfig teaches the first three.